Quantcast
Channel: Short – Sparky's Answers
Viewing all 21 articles
Browse latest View live

2002 Chevrolet Malibu, Power Outlet Not Working

$
0
0

DSC04850

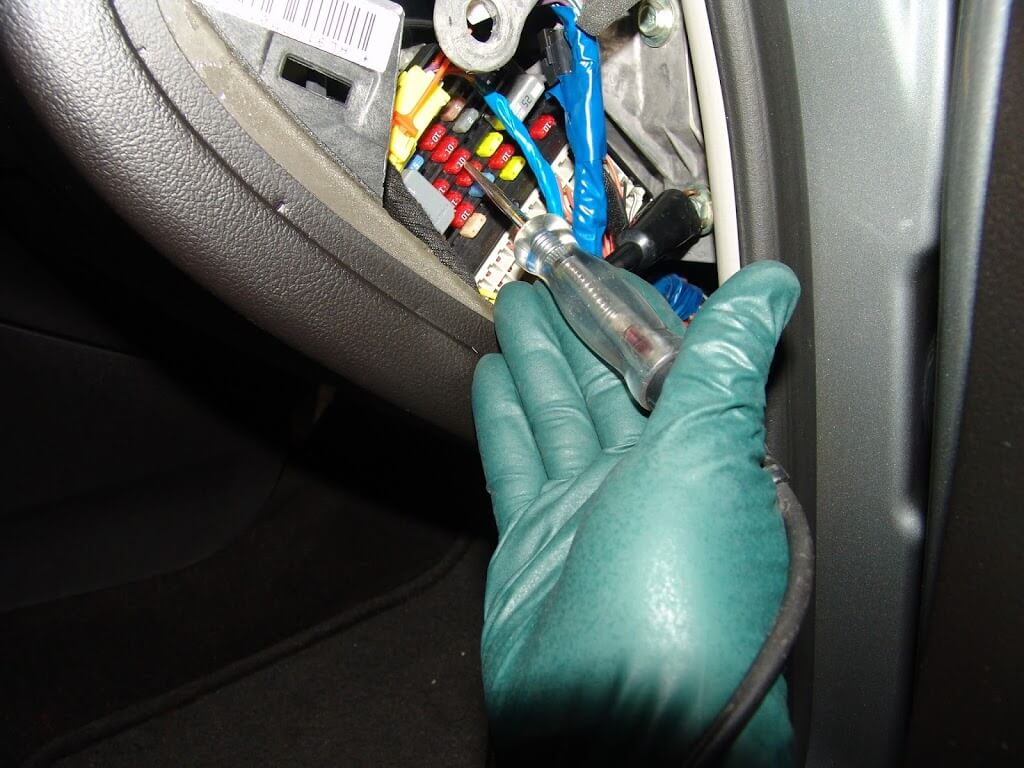
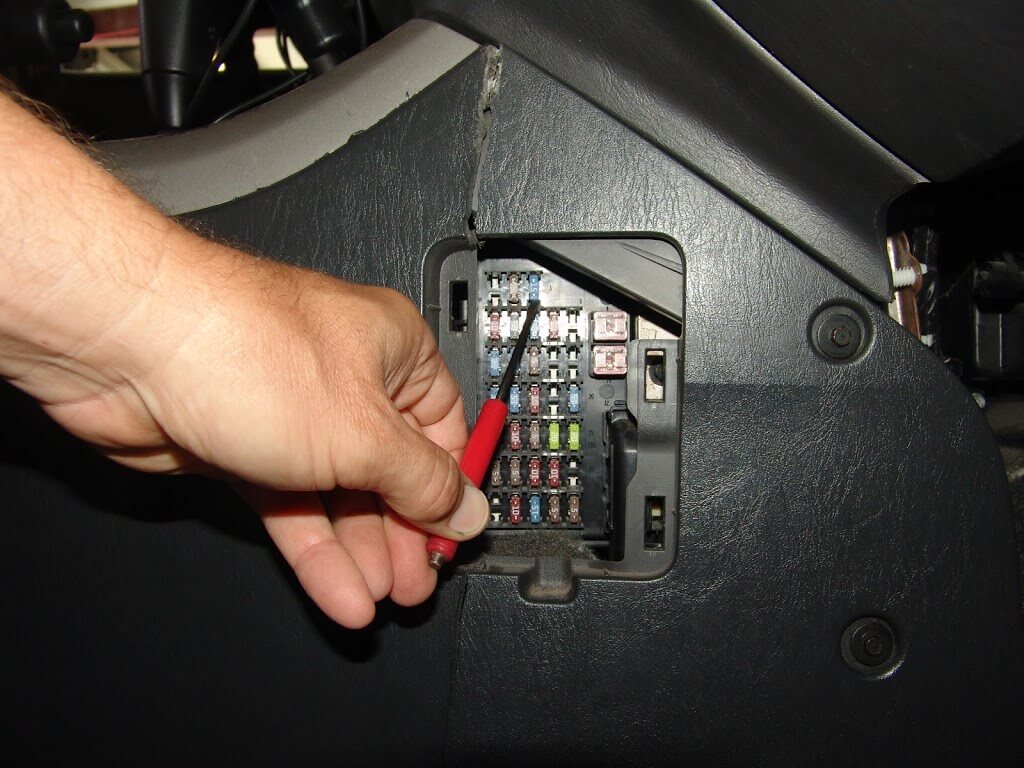
This 2002 Chevrolet Malibu came in with a simple enough complaint. The power outlet in the dash did not work. Simple enough. I went to fuse number 34 in the underhood fuse box to check the fuse.

Why is there a 2 amp fuse when there should be a 20 amp fuse? Why is it sitting in there crooked? What is that black stuff at the bottom of the fuse?

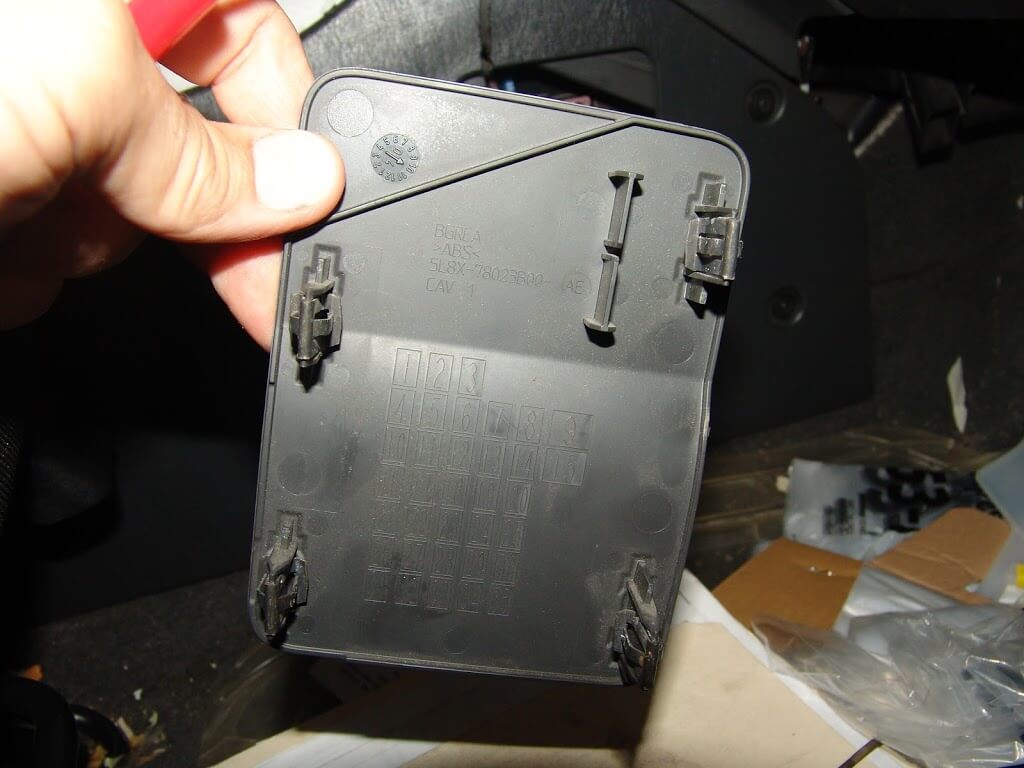
The fuse box legend showing the fuse in question is fuse number 34.

And the complication. Out of desperation to remain connected to the world. The driver found the blown fuse for the power outlet (cell phone charger port). The only fuse she had left was a 2 amp fuse. It blew immediately. Since "the fuse was too weak" her and her boyfriend decided to wrap the fuse terminals with a single strand of copper wire.

Turned out to be a $2000 fuse by the way. Since she did not have the money for repairs and the only thing that was not working was the power outlet, we decided to install a new power outlet and create a new power source circuit for it. From past experience, I told her that we should not even touch the harness that had been damaged, except to clear off the obvious burnt ends. We could cut them without disturbing anything else.

She has been driving the car for 6 months now without any issues. It had 260,000 miles on it when it came in my shop. Another reason to not sink a lot of money into this repair.

The post 2002 Chevrolet Malibu, Power Outlet Not Working appeared first on Sparky's Answers.


2006 Toyota Tundra, Power Windows and A/C Not Working

$
0
0

DSC05824

This 2006 Toyota Tundra came in with the complaint that the power windows and air conditioner did not work. The customer had stated that the battery went dead a couple of times and he would just jump it off. The last time he changed the battery.

I was pretty sure one of the multi fuse link assemblies would be damaged in the underhood fuse box.

I guessed that it would be the black one because it had two visible cables attached to it.

Sure enough no power to one of the cable connections as shown below.

I connected one of my heavier duty in line fuse holders into the system for testing.

I now had power and the fuse did not blow. My thinking is that someone had hooked jumper cables up backwards at some point and blew the fuse.

I decided to connect by charging system analyzer up and check the amperage going through this circuit.

When I first checked it, the reading was 80 amps. It settled down to 59 amps by the time I got the picture.

Just to show the relationship between amps and heat I also took a temperature check of the fuse and fuse holder. The peak was 158° F.

The fuse itself was easy enough to change; one bolt, one nut and it pulled out.

I did have to use a pair of pliers to get it released initially.

I had not paid a lot of attention to it but there is a 7.5 amp fuse that should be removed at the end of the fuse assembly. One side of it is still attached to the fuse assembly in the next picture.

The new fuse assembly on the left and the old one on the right.

The blown fuse in towards the lower right hand corner. It is horizontal and clearly blown.

I lined the new assembly up in the fuse box and firmly pushed it into position. It has to be fully seated in order the get the screw in without cross threading anything.

Installed the cable and nut on the stud.

Installed the 7.5 amp fuse at the end of the assembly.

I had to check the remaining fuses, clear codes and finish checking out the vehicle. The power windows and a/c are now working as well.

I originally thought that someone had connected the battery or jumper cables and blew the fuse. Now after seeing the amperage out put of the alternator and the rating on the factory fuse, I think the fuse blew by design or  accident to protect the alternator from being damaged by an excessively low battery condition. The fuse is supposed to be rated at 140 amps. There are two options for the alternator on this truck. One is a 100 amp unit and the other is a 130 amp unit. In theory the 130 amp alternator operating at full output for and extended period of time could melt the fuse material. In a close up look at the damaged fuse it looks melted. It does not have the flash marks on the clear plastic indicating a blown fuse caused by a strong short. at this point it is just my opinion but I would be interested if others have this same condition and can confirm nothing was connected backwards.

The post 2006 Toyota Tundra, Power Windows and A/C Not Working appeared first on Sparky's Answers.

2005 Nissan Maxima, Park/Tail Lights Do Not Work, Fuse Blows

$
0
0

DSC07313

This 2005 Nissan Maxima came in with the complaint that the tail lights do not work and the fuse blows. The tail light fuse is located in the underhood fuse box on the passenger side of the vehicle. The black plastic trim panel that runs from the firewall to the headlight assembly has to be removed. There are several push pin retainers that hold it in place.

With the trim panel removed grab the fuse box cover and pull it up and off of the fuse box. Note the position of the tail light fuse on the fuse box legend. Be careful around the fuse box and use a gentle hand. There is a processor built into the intelligent fuse box assembly.

Locate the fuse in the fuse box and test both sides of the fuse. This one had power on one leg but not on the other. I replaced the fuse and the park/tail lights started working again. Normal inspections of the bulbs and related wiring found nothing. I started bouncing the body around to see if the fuse would blow. Nothing. I started opening and closing the doors firmly and the fuse blew. Replaced the fuse again and the lights stayed on.

While sitting in the car contemplating what to check next, I noticed that the dome light switch in the overhead console was not sitting properly. A gentle wiggle and the fuse blew. I knew this because the dash illumination lights changed in intensity. A little more wiggling and the switch fell apart.

I made sure all of the pieces were out and replaced the fuse again. The lights worked and no matter how many times I moved the car around or opened and closed the doors the fuse remained good.

I found it strange that there would be a tail light circuit attached to the dome light switch and I could find no reference to this in the wiring diagrams.

Although I was sure the problem had been located, I now had a switch that needed to be replaced. There is one screw (phillips) that holds the assembly in place along with several clips.

It takes a good bit of force to dislodge the retaining clips. I used a wide plastic pry bar aimed at the white plastic clips to dislodge the fasteners.

Once the leading edge fasteners were free the two metal clips at the rear of the assembly were easy to remove.

The dome light switch unplugs from the back of the assembly. The switch and harness are then removed from the front of the light assembly. I called my Nissan dealership to find out that the switch is not sold separately. The cost of the assembly is $350 and only four in the country.

I did some testing and found that if I connected the white wire to the orange wire the dome light would work as if the switch was placed to the auto/door position.

A couple of snips. A splicing connector, some heat shrink tubing and the dome light works as most people expect anyway. Open the door and it comes on. Close the door and it turns off. Slight delay since it is a Nissan design. They prefer their dome lights to fade out gradually.

So if you have a hard to find short in the tail light circuit be sure to check this switch out. If you also do not want to spend $350 on a new light assembly but want the dome light to work, just connect the orange and white wires together as I did. I would strongly recommend checking the wire locations and electrical circuits yourself. Sometimes manufacturers will change the wire color codes for internal wiring and yours may or may not match this one.

The park lights now work without the fuse blowing and the dome light works as the customer requested.

The post 2005 Nissan Maxima, Park/Tail Lights Do Not Work, Fuse Blows appeared first on Sparky's Answers.

2009 Buick Lacrosse Interior Light Fuse Blows

$
0
0

DSC09841

This 2009 Buick Lacrosse came in with the complaint that the interior light fuse blows. The fuse is located in the passenger side interior fuse box. there is a cover on the end of the dash that covers the fuse box.

I confirmed that the interior light fuse was blown. The fuse should be labeled INT/ILLUM on the legend that is on the inside of the cover panel.

I installed a fused jumper wire that uses the cheaper ATO/ATC fuses. The fuse again blew.

After looking at wiring diagrams I realized that this fuse goes straight to the BCM and the BCM send power out on multiple leads.  I figured that the BCM area was going to be the best place to start testing. The BCM is located under the driver's side of the dash. The under dash hush panel and the knee bolsters have to be removed to access it.

There were a couple of push pins that held on the under dash hush panel.

A side view of the push pin.

There are two screws on either side of the outer knee bolster panel that need to be removed. The screws have 7 mm heads.

There are spring clips that have to be dislodged by pulling the upper portion of the panel towards the driver's seat.

There are a total of four 10mm headed screws that hold the inner brackets to the dash.  The forward one is accessed a shown below.

The rearward screws are accessed through the round holes on either side of the panel.

There are about half a dozen 7mm headed screws that attach the outer panel to the dash.  After removing the panel I installed a new fuse to confirm that nothing had changed.

The fsue did not blow this time and the interior lights were working properly. A closer visual inspection under the dash found these two shorted wires for the driver's footwell light. Notice the raised aluminum mounting boss with a threaded hole. That is where the forward bolt attaches the panel to the dash carrier.

I separated the two wires.

Then cut out the bad spots and spliced the wires back together. I checked first to make sure the light would still mount in it's holder with the wires slightly shorter. Probably could have cut out a couple of inches if I had needed to.

After I had sealed the connection with heatshrink tubing, I installed a piece of split loom to protect the harness.

I also made sure that the harness was out of the way of the bracket when I re installed the metal knee bolster.

The post 2009 Buick Lacrosse Interior Light Fuse Blows appeared first on Sparky's Answers.

2002 Buick Rendezvous No Run Condition

$
0
0

DSC09886

This 2002 Buick Rendezvous came in with the complaint that it would not run at times. Started out just a problem sometimes but now it is most of the time. I checked for codes and the only one present was for a fuel level sensor. I checked fuel pressure and spark and they were both present. After doing an injector balance test (passed) with my Tech 2 scan tool the engine fired and ran for a few seconds. So the base problem was no injector pulse while cranking the engine. I made sure there was no anti theft codes current and there were not.

After looking over service information I decided to look at the cam (CMP) and crank (CKP)"A" sensors. In checking for power and ground at the CMP sensor harness connector I found that there was no 12 volt supply on the red/white wire. During my research I read that the CMP and the CKP "A" sensor shared a PCM internal driver although they are connected to two separate external wires. I disconnected the harness connector for the CKP "A" sensor and power came back to the CMP sensor harness. I was about to condemn the CKP "A" sensor as shorted when I noticed a problem with the wiring just behind the a/c compressor.

I disconnected the harness that went to the compressor and pulled the whole harness down for a good inspection. There were multiple raw wires and it appeared that some had been touching each other. The light green wire is the 12 volt power supply from the PCM to the CKP "A" sensor. By the way this sensor is also known as a 24X sensor.

I separated the wires and and replaced the damaged areas one at a time. I made sure to stagger the joints so the the harness would go back together neatly.

I installed some split loom over the wiring to add some protection to the harness.

A pretty neat job even if I do say so myself.

Now I have a nominal 12 volts back at the red/white wire at the CMP sensor. I also had the same voltage at the light green wire at the 24X sensor.

I reconnected all of the wiring and the engine started right up. The wiring had been damaged by years of sloppy oil changes. The oil collected in the harness right at a turn and stayed there. As a result the insulation merely dissolved, leaving the wires exposed to each other.

The post 2002 Buick Rendezvous No Run Condition appeared first on Sparky's Answers.

2007 Honda Accord, Burnt Wiring Harnesses

$
0
0

DSC09891

This 2007 Honda Accord is a perfect example of why one should read and understand the owner's manual. Never put anything in place of a blown fuse except the factory rated fuse for that circuit. The complaint was that that stoplights and shifter interlock would not work sometimes. Other times the stoplights stayed on all of the time.

One of the first things that I noticed about this car was fresh paint, and secondly sloppy workmanship. My suspicion was that this vehicle had been repaired by a non professional body man. Boy oh boy was I right about that.

The main problem was quickly found in a melted trunk lid wiring harness. It is generally pretty bad when the outside loom has heat distortion.

Opening the loom found melted wiring. You may want to click on the next pictures to enlarge them.

I went towards the front of the car and found the same melted loom in the harness under the carpet at the driver's door.

Opening the loom found a wire with the insulation burnt off of it.

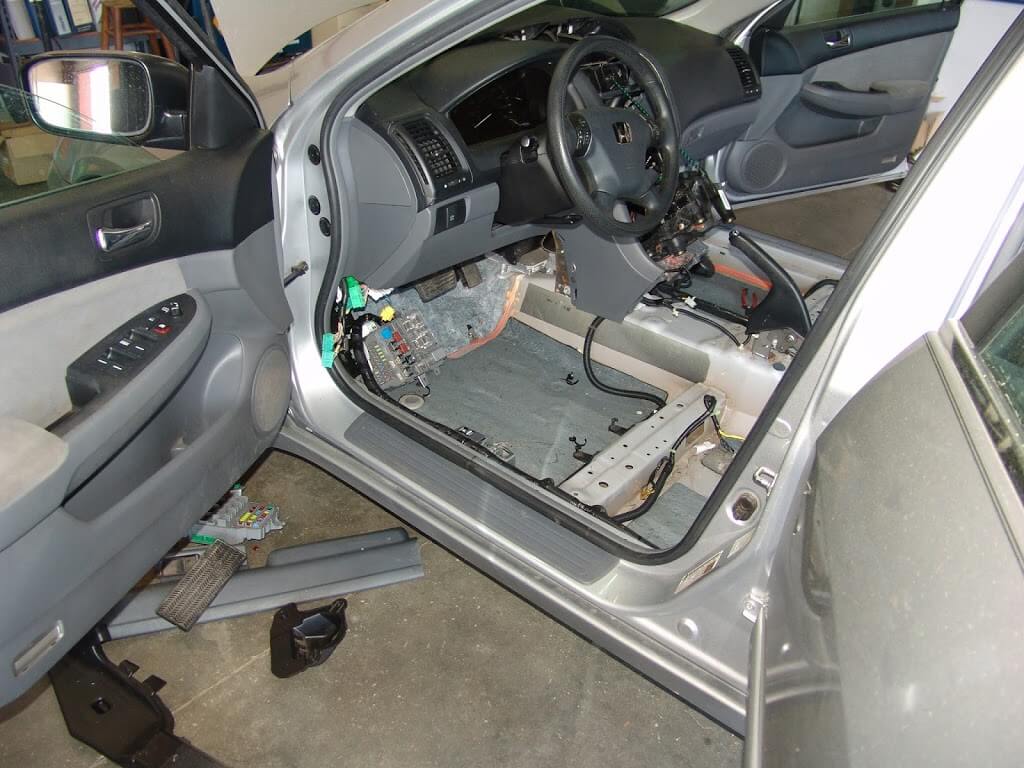
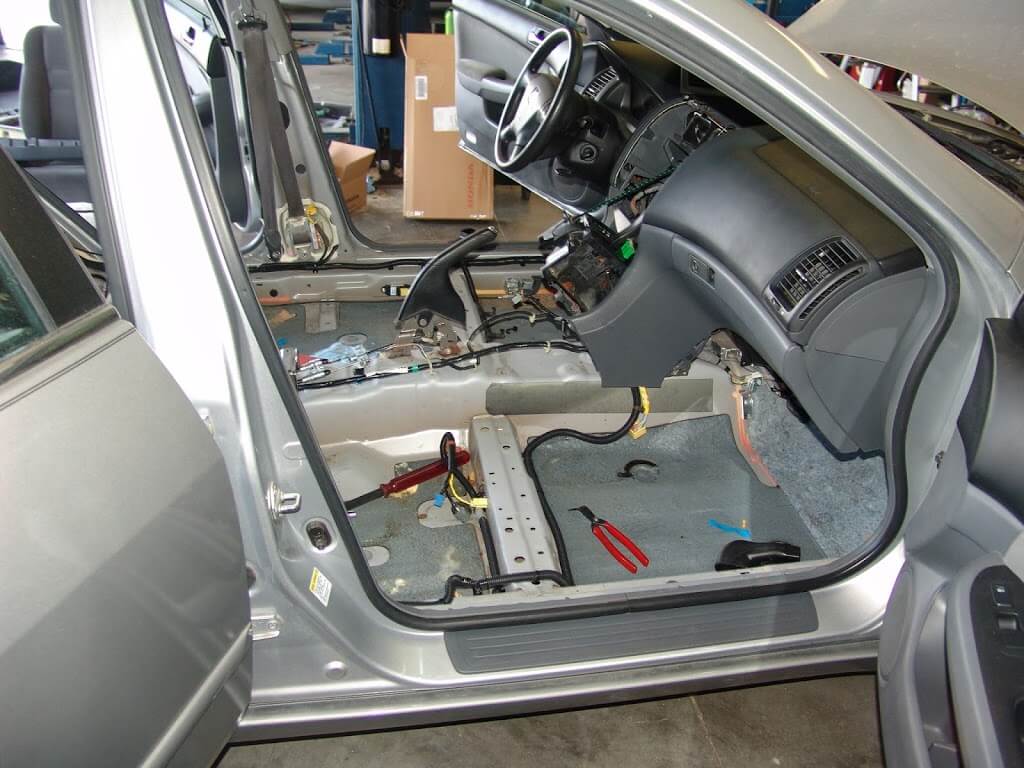
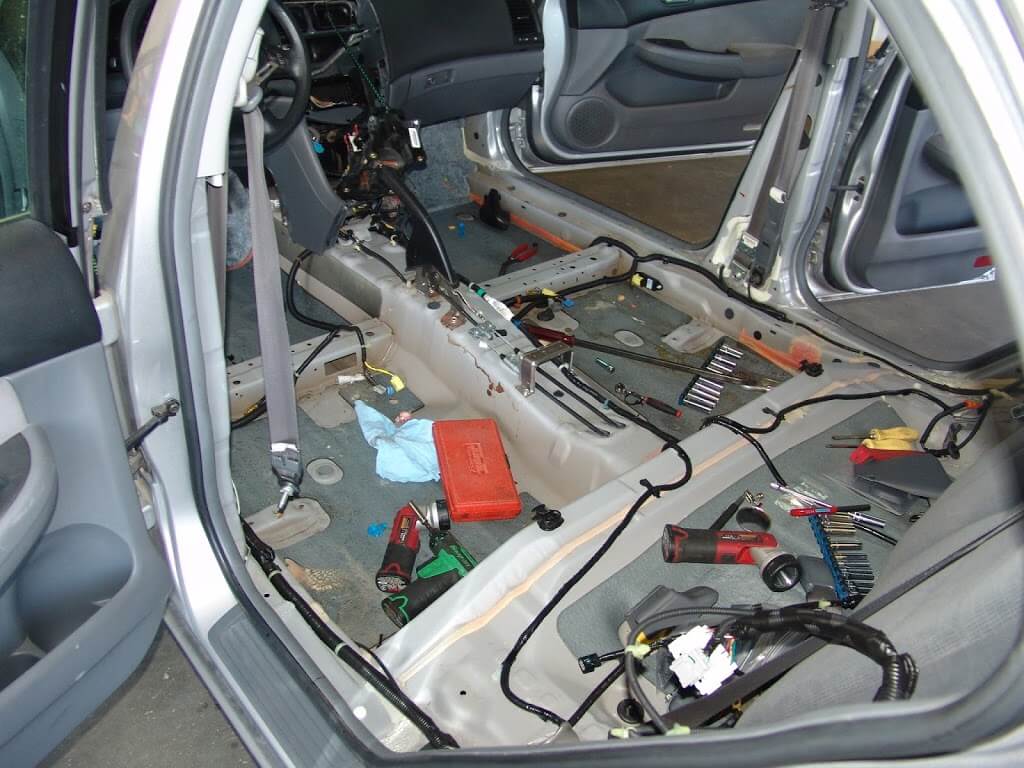
The actual work of repairing this car was way too involved to document but I wanted to give you an idea of what had to be done to replace the burnt harnesses.

All of this and nearly $1700 to replace burnt harnesses and a fuse box. The original short was located in the trunk lid and would have only cost about $150 to locate and repair. The underhood fuse box where the stoplight fuse is located was not damaged. The wiring between that fuse box and the stoplight switch looked to be about 16 gauge and survived the overheating condition relatively well. I did note that someone before me had replaced the stoplight switch and about 18 inches of its harness. The wire where it left the interior fuse box was very small and on the outside of the harness bundle and therefore could not handle the heat from the short and a non factory rated fuse in the system.

The post 2007 Honda Accord, Burnt Wiring Harnesses appeared first on Sparky's Answers.

2005 Mazda Tribute, Fuse #3 Blows, No Tail Lights

$
0
0

300x250c

This 2005 Mazda Tribute came in with the complaint that the tail lights would not work.This same general information would apply to the Ford Escape and the Mercury Mariner of the same era.  A quick check revealed that fuse #3 in the interior fuse box was blown.

One of the more common places for a short to occur is at this connector inside the tailgate assembly. It is on the passenger side. There are four phillips headed screws that have to be removed from the lower edge of the inside cover then the panel unsnaps and comes off.

There are four phillips headed screws that have to be removed from the lower edge of the inside cover then the panel unsnaps and comes off.

It is also common for the wires to break and short out in the pass through harness for the tailgate.

Pulling the headliner down reveals another in line harness connector. Disconnecting this harness eliminates a short from that harness connector and throughout the entire tailgate. Guess what? This vehicle still had a short present.

I had to disassemble a good bit of the interior to find the actual short. It turned out to be above the passenger rear wheel well. Rust had gotten to it creating a sharp edge.

There is a speaker assembly that mounts above the harness so that kept the harness pressed down against the sharp metal edge that eventually cut through the harness.

My advice to anyone looking for a short on fuse number 3 is to start with a quick inspection of the passenger rear wheel well and see if there is rust damage. If so pull the metal towards the tire a little and see if the short goes away. If it does you can avoid the many hours it took to find the short on this vehicle.

The post 2005 Mazda Tribute, Fuse #3 Blows, No Tail Lights appeared first on Sparky's Answers.

2007 Chevrolet Tahoe LT, LBEC2 Fuse #75 Blows

$
0
0

This 2007 Chevrolet Tahoe LT came in with the complaint that the LBEC2 fuse would blow as soon as it was installed. The owner had tried several with the same result. The two symptoms that the owner noticed that pointed them towards a blown fuse was that the power windows and rear HVAC unit did not work. There were other symptoms but they did not realize what they were when they brought this Tahoe in for repair.

DSC01113

The LBEC2 fuse is located at position #75 in the underhood fuse relay block.

DSC01115

DSC01112

DSC01110

The vehicle came with the low profile or miniature J-Case fuses. During testing I chose to use the standard length fuse as it is easier to install and remove.

DSC01114

As always I consulted a wiring diagram to see how this circuit was laid out. The wiring diagram showed that there was a red/black wire that connects the LBEC2 fuse circuit to the interior fuse block. That fuse block is located behind the end cover at the left end of the dash.  The 60 amp LBEC2 fuse supplies power to these fuse circuits:

BCM fuse 10 amp

COOLED SEATS fuse 30 amp

DDM fuse 10 amp and 15 amp

DIM fuse 10 amp

DSM fuse 10 amp

REAR HVAC fuse 30 amp

RT STOP TRN fuse 15 amp

CTSY fuse 15 amp

All of the involved fuses were the correct amperage (all less than 60 amps) and  not wrapped with wire or aluminum foil so that meant the short was probably in the wire between the two fuse boxes.

DSC01102

The most likely area would be under the dash, so I started removing the under dash panel so I could begin inspecting the wiring harness. There is a single 10 mm headed screw that attaches the parking brake handle.

DSC01119

Once the screw is removed the handle has to be slid in order to free the hooks on the top side of the handle as shown below.

DSC01118

There are two 7 mm headed screws at either end of the panel that have to be removed.

DSC01120

Then the panel will pull free of the dash. I pulled the upper edge of the panel towards the driver’s seat in order to free the spring tab retainers.

DSC01117

I searched around looking through the openings and found what looked to be the location of the short. I am pointing towards the general area with my pocket screwdriver in the next picture.

DSC01091

I followed that up with inspecting the same area with a mirror and a flashlight. One of the most important things that I have learned over the years is to inspect slowly and re test for the short still being present after each movement of a harness.

DSC01094

And there it is.

DSC01089

To get a better look at the shorted harness I removed the dash fuse block. There are two locks that hold it in place.

DSC01116

The locking tabs have to be pushed down in order to slide the fuse block out of the metal brackets.

DSC01097

A clear look at the spot on the metal bracket where the harness had rubbed through. I repaired the damage to the wire insulation by wrapping it with tape. I then reformed the harness so that it would no longer rub on any brackets.

DSC01096

Another one done.

The post 2007 Chevrolet Tahoe LT, LBEC2 Fuse #75 Blows appeared first on Sparky's Answers.


2008 GMC Yukon, Reduced Power Mode, Code P0641 00 Stored

$
0
0

This 2008 GMC Yukon came in with the complaint of reduced power and the vehicle could not be driven over about 35 mph. There were a lot of codes stored but the only one of real relevance was Code P0641 Symptom 00, 5 volt reference circuit 1.  I looked at data under the TAC section of the PCM and found the circuit reading fluctuating between 0 and 5 volts. While the 5 volt reference circuit 2 was rock steady. This circuit provides 5 volt reference power to the MAP, FTP, ACP, APP2,  EOP and CMP sensors.

The wiring color codes are:

MAP, FTP, EOP  = Gray

ACRP = Gray/White

CMP = Dark Blue

APP2 = Tan

The 5 volt circuit is generated within the PCM and is bussed out through six different terminals.

PCM Connector X1 Terminal 33 = FTP

PCM Connector X1 Terminal 34 = ACRP

PCM Connector X1 Terminal 36 = APP2

PCM Connector X2 Terminal 41 = EOP

PCM Connector X2 Terminal 43 = MAP

PCM Connector X2 Terminal 44 = CMP

MAP (Manifold Absolute Pressure), FTP (Fuel Tank Pressure), EOP (Engine Oil Pressure), ACRP (Air Conditioning Refrigerant Pressure), CMP (Camshaft Position), APP2 (Accelerator Pedal Position 2)

This vehicle was a VIN “K”, indicating that it has four wheel drive. Since the FTP is at the rear of the vehicle and odd wiring issues commonly occur at the front drive shaft I decided to have a quick look. Pretty obvious that we a have a problem here.

DSC01230

Lifting the harness clearly shows that the harness had been rubbing on the front drive shaft enough that it had worn through the split loom covering.

DSC01231

DSC01232

I could see some signs of the internal wires being rubbed through the opening in the split loom.

DSC01233

Pulling the wires out and inspecting them revealed that the gray and the tan/black wires had been cut into by the front drive shaft.

DSC01234

DSC01235

DSC01236

I cut the wires right where they had been rubbed then installed heat shrink tubing and reconnected with a quality splice terminal.

DSC01237

Everything back together and secured. I positioned the harness in the clamp at the center of the next picture. I also wrapped that harness just below the clamp with a wire tie. This creates an obstruction on the outside of the harness that will prevent it from “walking up the clamp” from transmission movement.

DSC01238

Obviously I used a scan tool to monitor the voltage on the 5 volt reference 1 circuit and was able to locate this problem in a timely manner. One could also use a voltmeter and backprobe the respective wire at one of the easier to access sensors  or the PCM. Anything less than 5 volts would indicate a problem and a visual inspection of the harness would be needed. Particularly in the area noted above. If nothing was spotted the next step would be to disconnect all other sensors on this line until the voltage was restored. One at a time and rechecking voltage along the way. I have read reports of shorts with the CMP, EOP, FTP and ACRP sensors and their related wiring as also being causes of this code.

The post 2008 GMC Yukon, Reduced Power Mode, Code P0641 00 Stored appeared first on Sparky's Answers.

2008 GMC Sierra Denali, Multiple Electrical Problems

$
0
0

This 2008 GMC Sierra Denali came in with multiple electrical complaints. The blower did not work. The left side stoplight, all left side turn signals, the right side mirror turn indicator. All of the power windows except for the right rear window did not work. There were a multitude of codes scattered through various modules. Most were stored in the DDM and the PDM. I did some testing of various circuits and decided there must be a problem with some of the major power supply fuses.

The 40 amp Blower fuse at position #70 was blown.

DSC01428

The 60 amp LBEC2 fuse at position #72 was also blown.

DSC01429

The underhood fuse box legend

DSC01431

Some of the testing that lead me to the underhood fuse box was the fact that all of the fuses in the row I am pointing to with my test light were unpowered even with the ignition on.

DSC01432

The driver’s side fuse box legend.

DSC01441

It took a little bit of looking around but I found where the wires were shorting out above the parking brake assembly.

DSC01433

A little bit better view of the shorted wiring harness.

DSC01434

DSC01435

A clear view of the shorted out wires with the harness tape pulled back.

DSC01436

In the end I had to cut and splice one of the wires back together. The other two only had the insulation slightly damaged so I wrapped them with live rubber tape. Wrapped that with regular electrical tape. Wrapped the wiring harness back up where the tape had previously been removed then covered all of that with some large split loom. I also reformed the harness to stay away from the parking brake assembly.

DSC01464

I found it easier to work by removing the under dash panel on the driver’s side of the truck. There is a 10 mm headed bolt that holds the parking brake release handle in place.

DSC01440

Once the bolt was removed the handle assembly had to be slid towards the firewall in order to disengage the hooks.

DSC01439

There are two phillip’s headed screws along the lower edge of the panel that have to be removed. One at either corner.

DSC01438

Then the panel can be pulled from the dash by pulling it towards the seat. That will disengage the retaining clips.

DSC01437

The post 2008 GMC Sierra Denali, Multiple Electrical Problems appeared first on Sparky's Answers.

2000 Honda Civic Battery Goes Dead

2007 Chevy Express G1500 Van, Fuse #10, HVAC Fuse Blows

$
0
0

This 2007 Chevrolet Express G1500 van came in with the complaint that the A/C would not work. Neither the blower nor the compressor would come on. Looking at a wiring diagram revealed that fuse number 10 in the interior fuse box supplies power to both the compressor and blower control portions of the HVAC system. … Continue reading "2007 Chevy Express G1500 Van, Fuse #10, HVAC Fuse Blows"

The post 2007 Chevy Express G1500 Van, Fuse #10, HVAC Fuse Blows appeared first on Sparky's Answers.

2012 Chevrolet Express Van Horn Stuck On Battery Goes Dead

$
0
0

This 2012 Chevrolet Express van came in with the complaint that the horn was stuck on and the the battery goes dead even though the horn has been disabled/disconnected. The customer could not accurately explain how the horn had been disconnected. I figured that the fuse or the relay must have been removed. The cover … Continue reading "2012 Chevrolet Express Van Horn Stuck On Battery Goes Dead"

The post 2012 Chevrolet Express Van Horn Stuck On Battery Goes Dead appeared first on Sparky's Answers.

2007 Chevrolet Monte Carlo SS Emissions 1 Fuse Blows

2010 Toyota Tacoma IG1 2 Fuse Blows – Battery Goes Dead


2003 Chevrolet Express Van-No Crank Condition

2008 Ford Expedition-Power Seat Not Working

2009 GMC Yukon-Power Lift Gate Not Working

2002 Ford F150-Dome Light Glows

2010 Ford Explorer-No Crank Condition- Fuse #8 and Otis Diode Blown

Viewing all 21 articles
Browse latest View live


Latest Images